
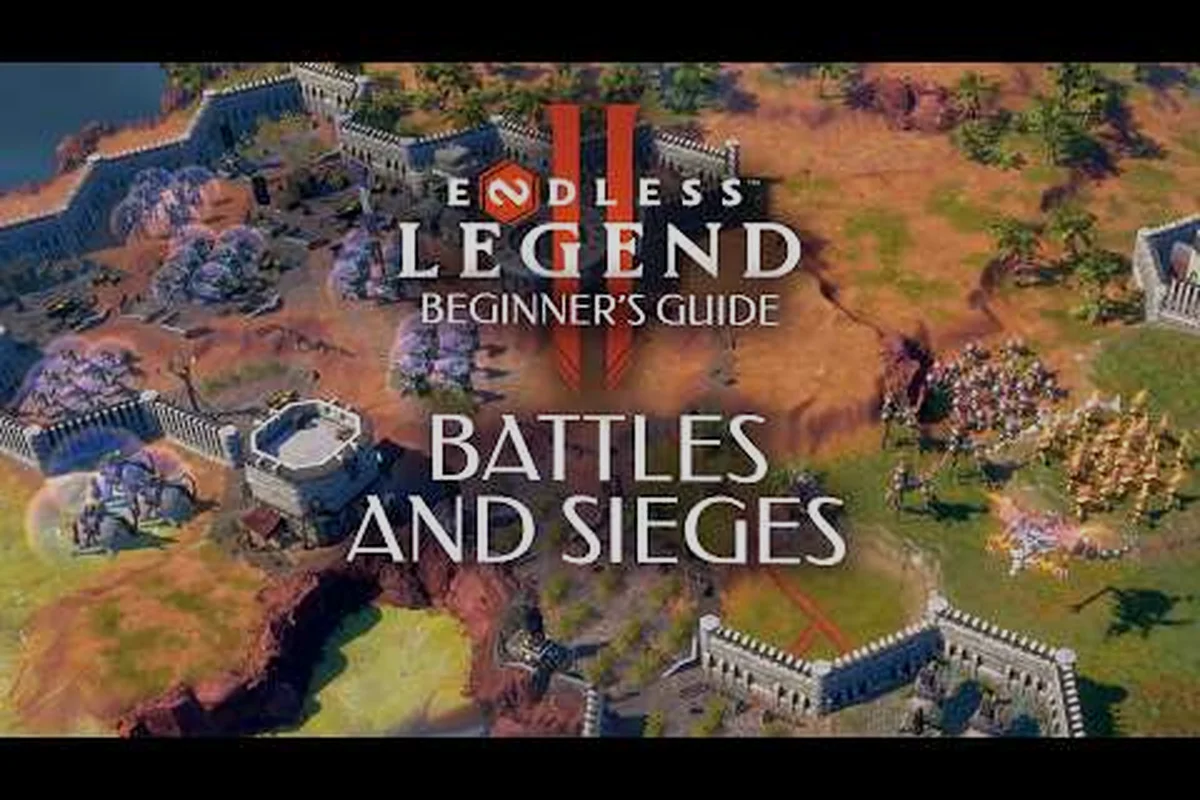
Almost every tactical battle in ENDLESS Legend 2 is decided before the first strike lands. The cover system governs which units take the brunt of an attack, how flanking maneuvers translate into real damage, and whether a defender tucked behind a ridge can hold the line long enough for reinforcements to march in. If you want to win wars on a shifting, ocean-locked planet, mastering the ENDLESS Legend 2 cover system is the single most leveraged skill you can build.
This guide breaks down the terrain, affinity, and stance layers that make up that system. You will see how high ground, Battle Affinity matchups, and the Stone Stance defensive order interact during army combat, and how those layers bend the math of a city siege. The principles below are written for the 1.0 release on Steam (version 1.0 launched September 17, 2026) and reflect mechanics observed in official developer blogs and community playtesting, according to community data.
How the ENDLESS Legend 2 Cover System Works
The cover system is a layered damage mitigation pipeline. Whenever a unit attacks, the engine checks four layers in order: Cover Terrain, High Ground, Battle Affinity, and Active Stance. Each layer can reduce, amplify, or reroute incoming damage, and the order matters because later layers multiply the result of earlier ones. That is why two otherwise identical armies can produce wildly different casualty reports depending on where and how they collide.
The Four Layers at a Glance
| Layer | Trigger | Effect | Stacks With |
|---|---|---|---|
| Cover Terrain | Unit stands behind forest, ruin, ridge, or city wall | Flat % damage reduction | High Ground |
| High Ground | Attacker occupies an elevated hex | Bonus accuracy and crit | Battle Affinity |
| Battle Affinity | Attacker and defender share a faction or hero tag | Damage bonus or penalty | Stance |
| Active Stance | Hero or doctrine order is active (e.g. Stone Stance) | Multiplicative damage modifier | All layers |
Cover is the foundation, so understanding it unlocks every other layer. When a unit begins its turn behind a forest hex, behind a Ruin, behind a ridge, or inside a friendly city, the engine classifies it as "in cover" and applies a flat reduction before any other calculation runs. The exact reduction scales with the terrain type, which is why defenders will deliberately park ranged units behind Forest or Ridge tiles during the setup phase.
High ground is a positional advantage rather than a terrain tile. If the attacking unit is one elevation step above its target, the engine adds an accuracy bonus and a small crit-rate bump before the damage roll. Pair that elevation gap with a forest hex and you have stacked both the first and second layers at once, which is one of the most reliable opening setups in army combat.
Why Layer Order Matters
The system is multiplicative, not additive. A unit behind a ridge with a 25% reduction that also takes high ground and an affinity penalty will not simply have 25% + 15% + 10% subtracted from incoming damage. Instead, the engine multiplies each remaining fraction, so the final damage is Base × (1 - 0.25) × (1 - 0.15) × (0.90). The interaction is the reason defenders can hold a chokepoint for several turns against a numerically superior attacker when the layers line up correctly, and the reason an ill-positioned stack can evaporate in a single round when they do not.
Players who ignore the layer order tend to misread replays. They see a city siege collapse and assume the attacker simply outnumbered the defender, when in reality the defender had abandoned the ridge and lost both Cover Terrain and High Ground at the same time. Cover is the multiplier on every other decision you make, and breaking the cover chain is often more valuable than breaking the enemy army.
High Ground and Battle Affinity in Army Combat
Once the cover layer is in place, the next two layers decide who wins the trade. High Ground shapes the accuracy of ranged and siege units, while Battle Affinity determines how strongly faction or hero tags interact. Both layers are visible in the battle preview tooltip before you commit to an attack, so a good habit is to hover the engagement and read the projected hit chance and damage band before you confirm the order.
Reading the Elevation Map
The battlefield is divided into a grid of elevation bands. Each band is one "step" higher or lower than its neighbors, and the engine uses those steps to calculate the High Ground bonus. Units shooting downhill suffer a flat accuracy penalty and lose crit scaling, while units shooting uphill gain both. In practical terms, this means a defender who climbs even one elevation step can swing a 60% hit chance into a 75% hit chance, which compounds across a multi-round engagement.
| Attacker Position | Defender Position | Accuracy Δ | Crit Δ |
|---|---|---|---|
| High ground | Low ground | +10% | +5% |
| Same elevation | Same elevation | 0% | 0% |
| Low ground | High ground | -10% | -5% |
| Low ground | Low ground | 0% | 0% |
Settling your ranged stack one tile uphill of the expected attack vector is one of the cheapest force multipliers in army combat. The downside is that elevation is a finite resource. Once a ridge is taken, the defender can rotate fresh units onto the high tile, but the attacker can deny that rotation by threatening the ridge from two angles. Elevation play becomes a chess match, and a smart defender will station a screening unit on the slope just to force the attacker into a slow, costly climb.
Battle Affinity Matchups
Battle Affinity is the layer most newcomers miss. Each faction in ENDLESS Legend 2 has an affinity tag that describes its combat style, and certain tags counter or compound with others. The system is closer to a rock-paper-scissors table than a pure stat bonus, so committing to the math before a fight can save an entire army.
| Affinity | Strong Against | Weak Against | Typical Faction |
|---|---|---|---|
| Vanguard | Skirmisher | Bulwark | Order of Zelevas |
| Skirmisher | Bulwark | Vanguard | Necrophage |
| Bulwark | Vanguard | Skirmisher | Severed Claws |
| Arcanist | Skirmisher | Bulwark | All-Endings |
Affinity matters most in prolonged army combat, because each successive round amplifies the small per-hit swing. A Vanguard army attacking a Bulwark stack through a forest hex will see its effective damage roughly cut in half across the engagement, while the same Vanguard army against a Skirmisher force will land every hit for full value. Community testing on the 1.0 branch shows the affinity delta hovering around 15% to 20% in either direction, so the bonus is large enough to dictate march routes, not just duels.
If you want a deeper read on how Battle Affinity and other combat layers fit into a broader army doctrine, the military doctrine breakdown covers how hero abilities, doctrine orders, and affinity choices stack across a multi-front campaign.
Stone Stance and Defensive Doctrine Orders
The fourth layer is the only one a player can flip at the start of every round. Doctrine orders, including the signature Stone Stance, are active modifiers that the hero or commander issues before combat resolves. They multiply the result of the previous three layers, so they are the highest-leverage decision in the cover system.
What Stone Stance Actually Does
Stone Stance is a defensive order that locks the issuing unit in place, reduces its movement to zero, and grants a substantial damage reduction against incoming strikes for the duration of its turn. In practice, the stance converts a fragile glass cannon into a hard target, which is exactly what a defender on a ridge or behind a city wall wants. Because the reduction multiplies the residual damage after cover and high ground, the total survivability increase is often larger than the listed number suggests.
The trade-off is real. While in Stone Stance, the unit cannot counterattack, cannot retreat, and cannot be rotated to another tile until the next round. That makes the order perfect for anchoring a defensive line, but disastrous if the player misreads the engagement and needs to reposition. The stance is also vulnerable to Disengage effects, so an attacker who brings a hero with that ability can simply step away from the rooted unit and strike another target.
Comparing the Defensive Stance Options
| Stance | Damage Reduction | Movement | Counter | Best Use |
|---|---|---|---|---|
| Stone Stance | 35% | Locked | Disabled | Anchor a ridge or wall |
| Iron Wedge | 20% | -2 | Enabled | Slow a charging vanguard |
| Mirror Guard | 10% | Normal | Enabled | Counter skirmishers |
| Free March | 0% | +2 | Enabled | Flank and disengage |
Choosing the right stance is more about reading the enemy army than about picking the strongest option. A defender expecting a Vanguard charge against a ridge should issue Stone Stance on the front-line unit and let the layered reduction do the talking. A defender who expects skirmishers will get more value from Mirror Guard, because the small counter window disrupts the skirmisher's rotation plan. A player who has no clear read on the incoming army often defaults to Iron Wedge, which is a serviceable middle ground.
Players who want a wider view of the broader combat loop, including the auto resolve and manual battle trade-offs that surround these stance decisions, can cross-reference the tactical battles combat guide. It walks through when to commit to a manual fight and when to let the auto resolve run, which is the right call for most Stone Stance-heavy defenses.
Running a City Siege With the Cover System in Mind
Sieges are the most common setting where every cover layer shows up at once. A city provides City Cover for its garrison, the surrounding hexes offer elevation, the garrison usually carries a defensive affinity, and the mayor or hero can issue a stance. Running a successful city siege means stripping those layers one by one, while denying the defender the chance to reinforce.
The Siege Layer Checklist
| Step | Defender's Layer | Attacker's Counter | Risk |
|---|---|---|---|
| 1 | City Walls | Bring Siege units or battering heroes | High attrition before the walls crack |
| 2 | High Ground on approach hexes | Approach from two elevations at once | Split focus loses units to focus fire |
| 3 | Affinity Bonus for garrison | Match with neutral or countering tag | If mismatched, fight a 20% uphill battle |
| 4 | Active Stance (often Stone Stance) | Bait with a feint, then flank | Stance locks the unit, so flank the neighbor |
The single biggest mistake in ENDLESS Legend 2 city sieges is rushing the walls with a single mixed stack. The defender's garrison will have spent the previous turn stacking cover layers in the most punishing order, and a single attack vector just feeds that preparation. The winning approach is to march in two columns: one column with siege units to grind the walls, and a second column with an Arcanist or Skirmisher tag to exploit the affinity gap once the walls crack. The two columns force the defender to choose which layer to protect, and most AI garrisons will collapse under the pressure.
Holding a City Under Siege
Defending a city is its own discipline. A good defender will pre-position the garrison on the highest elevation tile inside the city, then issue Stone Stance on the unit occupying that tile. The combination of City Cover, High Ground, and the stance produces a damage reduction chain that is genuinely punishing for a single-faction attacker. If a third reinforcement army can march in before the walls crack, the attacker often has no choice but to lift the siege or commit to a costly assault.
The trick is to make the defender's preparation phase as expensive as possible. Attackers can do this by using a feint stack to draw the defender's stance order, then pivoting the real army to a weaker wall segment. Once the stance locks, the garrison cannot rotate, so the attacker only has to beat one segment of wall instead of two. This is also the moment a hero with a Disengage ability earns its keep, because the hero can pull the rooted defender out of position and let the assault column sweep the undefended tile.
If you want the broader picture on how armies move across the campaign map before a siege even begins, the empire and game modes guide covers march routes, supply lines, and the pre-war economy that decides whether you can afford a long siege at all.
Advanced Layer Synergies and Common Mistakes
Once the four layers are second nature, the real edge comes from combining them across multiple units. The strongest defensive lines in 1.0 community matches stack two units behind a ridge, with the front unit in Stone Stance and the back unit in Mirror Guard. The arrangement layers three of the four cover systems at once and forces the attacker to chew through a punishing damage chain. The most common mistake is overcommitting to one layer, because each layer only earns its keep when the others are in place.
Layer Synergy Cheat Sheet
| Synergy | Layers Used | Result | Counter |
|---|---|---|---|
| Wall and Wedge | City Cover + Iron Wedge | 45% reduction, anchored | Bring Disengage heroes |
| Ridge Anchor | High Ground + Stone Stance | 45% reduction, no movement | Flank from two elevations |
| Forest Skirmish | Forest Cover + Mirror Guard | 25% reduction with counter | Push a Vanguard to break the counter |
| Siege Run | None + Vanguard tag | Full damage, low accuracy | Hide behind City Cover until walls crack |
Notice that the Ridge Anchor synergy is the strongest single setup in the system, but it is also the most fragile. A single well-timed Disengage hero can pull the rooted unit off the high tile, and the entire chain collapses. That is why the best defensive armies carry a backup plan. Pair the Ridge Anchor with a screening unit on the slope, so the disengaging hero is forced into a sub-optimal target.
Players who lose more engagements than they win usually break the layer chain in the same way: they issue a stance on a unit that is not in cover, or they climb a ridge without stacking any other layer. Both mistakes leave the layer order out of balance, and the result is an army that takes full damage despite the player's intent. Slow down before each round and check the four layers in order. That single habit, more than any unit composition, separates commanders who climb the 1.0 ladder from commanders who stall in mid-tier play.
Frequently Asked Questions
Does the ENDLESS Legend 2 cover system apply during auto resolve?
Yes, but at a simplified rate. The auto resolve applies the same four-layer pipeline, though terrain and stance bonuses are estimated rather than simulated hex by hex. A defensive setup with Stone Stance and high ground still wins most auto resolves, but a complex multi-stack siege is often worth running manually for the extra precision.
How do I tell which hex grants high ground in battle?
Hover any hex during the setup phase. The elevation step appears as a small icon next to the tile, and the engine draws a faint line of sight along the elevation gradient. Hexes one step above your current position grant the High Ground bonus, while hexes one step below impose the penalty.
Can Battle Affinity bonuses stack with hero abilities?
They can, but only when the hero ability is tagged with the same affinity. A Vanguard hero commanding a Vanguard army will see the affinity bonus stack with most of its active abilities, while a mixed-tag hero will see only the army's base affinity applied. Stack affinity deliberately when building a hero loadout for a specific campaign.
Is the Stone Stance order worth the lost movement?
In a defensive battle, almost always. The 35% damage reduction multiplies with the existing cover layers, and the total survivability bump is often larger than a free round of movement would have been. In an offensive battle, the stance is a trap, because losing mobility in the middle of an assault usually means losing the engagement entirely.
What is the fastest way to learn the cover system in the 1.0 patch?
Start by replaying battles with the Battle Log panel open and pause on each round to inspect the four layers. Community replays and the official 1.0 dev blog, including the official ENDLESS Legend 2 Steam page, also break down several example engagements. After three or four replays the layer order will click and you will start predicting the outcome before the round resolves.